
To connect two monitors to one computer, plug each display into a video output on your PC or laptop, then set Windows to extend your desktop across both screens. Most people finish in about ten minutes, and the only real prerequisite is knowing which ports you have.
Check the back or sides of your machine for HDMI, DisplayPort, USB-C, or Thunderbolt 4. If you have two free video outputs, run a cable from each monitor directly. If you’re short on ports, a USB-C docking station or a USB-C to dual HDMI adapter can split one connection into two. Either route works, as long as the hardware matches what your computer actually supports.
The software side is quick. In Windows 11, right-click the desktop, open Display Settings, and choose “Extend these displays” so each monitor becomes its own workspace. Before you touch any settings, make sure every cable is seated firmly at the PC or dock end. Loose connections cause more “my second screen is missing” headaches than anything else.
The steps below cover the hardware you need, a sensible order of operations, and what to check when a monitor stays dark.
What You Need Before You Start: Ports, Cables, and Tools
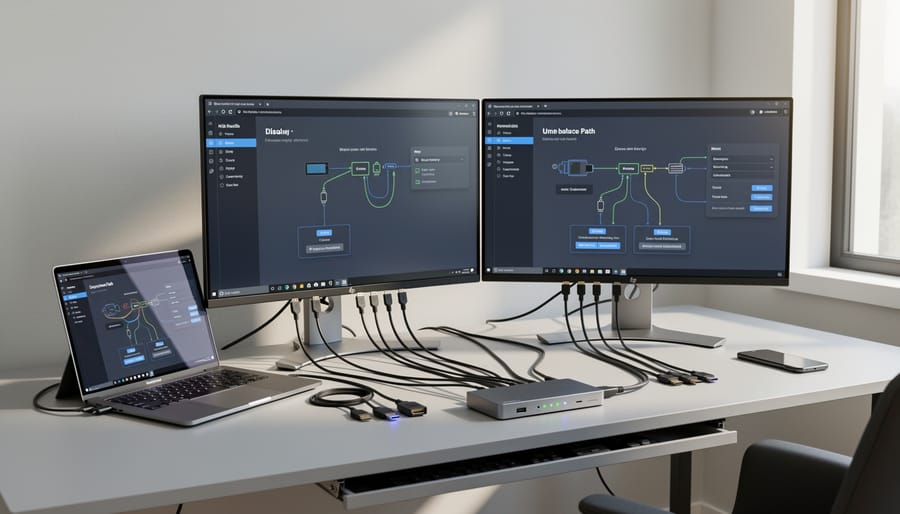
How to Identify the Ports on Your Computer and Monitors
Start with your computer. On a laptop, scan both sides and the back edge for HDMI, DisplayPort, USB-C, or Thunderbolt 4 ports. Look for small icons printed next to each one: a DisplayPort or lightning-bolt symbol usually means that USB-C port can output video, while a plain USB-C port may only handle data and charging. Check your laptop’s spec sheet if the markings are unclear.
On a desktop, look at the back panel. Video outputs on the graphics card, which sits lower in the case, are almost always the better choice for a monitor. The outputs near the motherboard’s USB ports often stay inactive when a dedicated graphics card is installed, so plug into the card first.
Next, look at each monitor’s inputs. Most list HDMI, DisplayPort, or USB-C along the back or underside. Some monitors use Mini DisplayPort, in which case a Mini DisplayPort cable may be what you need to match the connection.
Finally, pair them up. Ideally each monitor connects to its own output on the computer using the same port type at both ends, since that keeps things simple and avoids adapters.
Choosing Between Direct Cables, a USB-C Dock, and a Dual HDMI Adapter
There are three dependable ways to get two screens running, and the right one depends on the ports you already have.
Direct cables are the simplest route when your computer has two free video outputs. Plug one monitor into each port and you’re done, with no extra hardware to power or configure. Desktops with a dedicated graphics card often have several outputs, so this is usually the easiest path there. If you need to choose the right HDMI cable for a direct connection, match it to what both the port and the monitor support.
A USB-C docking station suits a thin laptop with only one or two ports. One USB-C connection from the laptop feeds the dock, and the dock provides the video outputs for both monitors, along with extra ports for other accessories. It’s a good fit for a desk setup where you want to plug in a single cable and have everything ready. The trade-off is another device on your desk and, usually, a separate power supply.
A USB-C to dual HDMI adapter is the lighter, more portable option. It converts one USB-C port into two HDMI outputs, so you can drive both monitors without a full dock. It works well for travel or a compact workspace, though it won’t add the extra ports a dock does.
As a quick rule of thumb: use direct cables if you already have enough native ports, a dock if you want one-cable convenience, and an adapter if you want something small and simple. Whichever you pick, confirm your USB-C port supports video output first, since not every USB-C port does.
Before You Plug In: Safety and Stop Conditions
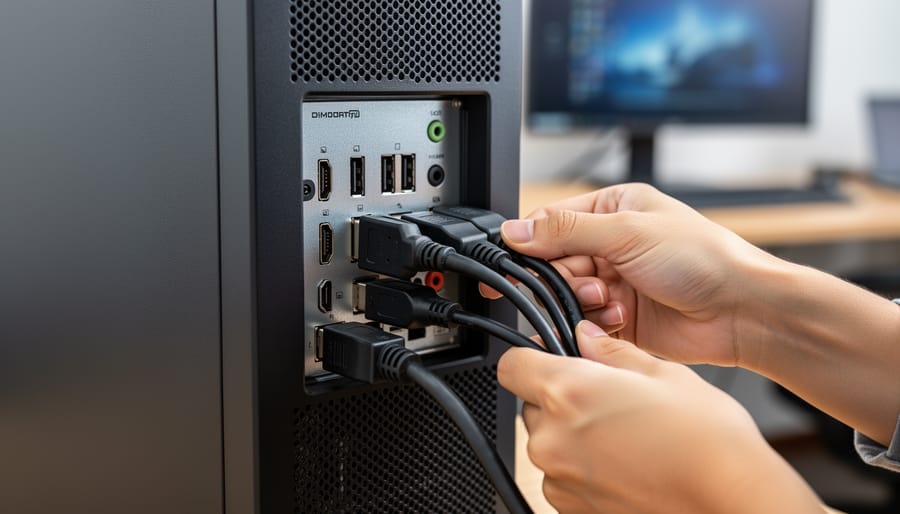
Setting up two monitors is low-risk, but a few habits keep your gear safe. If you can, shut the computer down before plugging in cables. Hot-plugging usually works fine, yet powering off removes any doubt, especially with older ports or a desktop’s graphics card.
Handle every connector gently. Line up the plug with the port and push straight in; HDMI, DisplayPort, and USB-C only fit one way. If a plug feels loose or won’t slide in, you probably have the wrong port or the wrong orientation, so back out and check. Before each connection, glance at the pins for any that look bent.
Use cables and adapters that are properly rated for what you’re connecting. A USB-C to dual HDMI adapter or dock should match your computer’s video output, and a frayed or kinked cable is worth replacing rather than hoping it holds. Plug docks and monitors into a power strip that isn’t already crowded with heavy appliances.
If anything smells off or stays hot, unplug it and inspect before continuing.
How to Connect Two Monitors to One Computer, Step by Step
Steps 1 to 3: Identify Ports, Pick Your Hardware, and Connect Both Monitors
Start by confirming your ports (Step 1). Check the back or sides of your computer and each monitor for HDMI, DisplayPort, USB-C, or Thunderbolt 4. If your laptop has only one video output, you’ll need a dock or adapter, which brings you to Step 2.
Pick your connection route next. With enough ports, run a separate cable from the computer to each monitor. With limited ports, use either a USB-C docking station or a USB-C to dual HDMI adapter. The dock or adapter then feeds both screens from one connection.
Now connect both monitors (Step 3). For a direct-cable setup, plug each monitor into its own output on the computer. Don’t put both cables into the same port, and make sure each connector sits snug without forcing it. For a dock or dual HDMI adapter, plug the dock or adapter into your computer first, then connect one monitor to each of its outputs.
Plug in power for both monitors and switch them on. Then use each monitor’s menu or input button to choose the source that matches the cable you used, such as HDMI 1 or DisplayPort. A monitor set to the wrong input will often show a “no signal” message even when the cable is fine.
Leave all settings alone for now. Windows 11 works best when every cable is firmly connected to your PC or dock before you change any display options, which is exactly what the next step covers.
Steps 4 and 5: Open Windows 11 Display Settings and Extend Your Screens
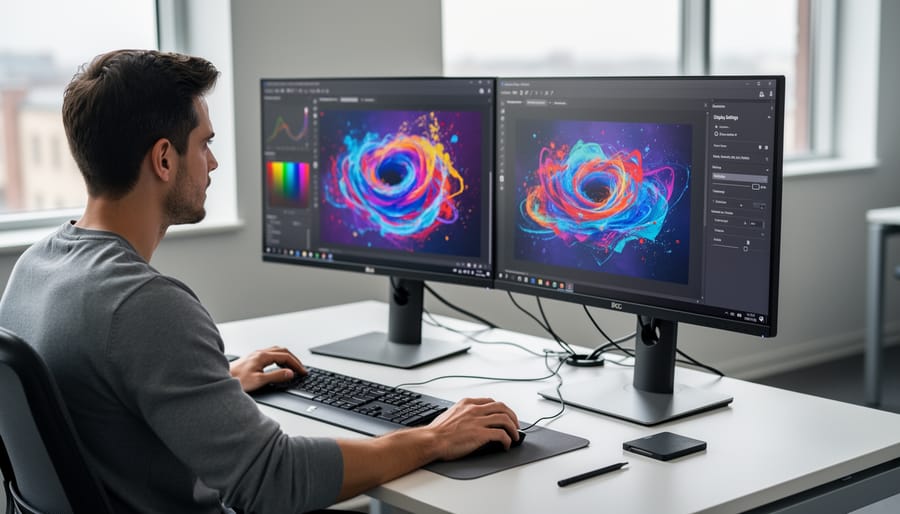
Once both monitors are plugged in and showing a picture, the rest happens in Windows. Right-click an empty spot on the desktop and choose Display settings. At the top you’ll see numbered boxes representing each screen. Scroll down to the Multiple displays option and select “Extend these displays.” Each monitor now acts as its own independent workspace, so you can park a browser on one and your documents on the other.
Next, match the layout to your desk. Windows doesn’t know which monitor sits on the left, so the boxes may be in the wrong order. Click and drag them until they mirror the real arrangement. If you get this wrong, your mouse will jump off the “wrong” edge of the screen, which feels odd right away.
Not sure which box is which? Click the Identify button, and a large number will flash on each physical screen. Match those numbers to the boxes and you’re set.
To choose your main display, click the box you want, then check “Make this my main display.” That screen will hold your taskbar and show new windows by default. Pick whichever monitor sits directly in front of you.
Duplicate mode is the alternative. It shows the same image on both screens, which makes sense for presentations, where you want the audience’s screen to mirror yours, or for sharing your view with someone sitting beside you. For everyday work, though, Extend is the one that gives you more room.
Using a Wireless Display Adapter as a Second Screen
Not every second screen needs a cable. If your display is a TV or another screen that supports wireless casting, a wireless display adapter gives you an optional alternative to the wired routes above.
Start by connecting the wireless display adapter to the TV and powering the TV on, set to the input the adapter uses. Then, on your Windows 11 computer, press the Windows key + K to open Cast. Your adapter should appear in the list of available displays, so select it and let Windows connect.
Once the connection is made, the TV acts as another display. You can then use the same Display Settings steps covered earlier to extend your screens and arrange them. Think of this as a convenient option for situations where running a cable isn’t practical, rather than a replacement for a wired connection. If the adapter doesn’t show up in the Cast list, check that it’s powered on and ready to pair, and confirm Windows is up to date.
What to Do When Your Computer Won’t Recognize Both Displays
When your computer picks up only one screen, the cause is usually something small. Work through the checks below in order, starting with the simplest, and test after each one so you know exactly what fixed it.
- Reseat every cable firmly at the PC or dock, and at each monitor, since Windows 11 expects all connections to be properly made before you touch external display settings.
- Confirm each monitor is powered on and set to the correct input source, such as HDMI or DisplayPort, using its on-screen menu.
- Check for Windows updates, then install anything pending before adjusting external display settings again.
- Test each monitor and cable on its own by connecting one display at a time to see whether the problem follows a particular cable or screen.
- Try a different port on the computer or dock, or swap in another cable, to rule out a faulty connection.
If one monitor works alone but the pair fails together, the issue is often a limit on the port or dock rather than a bad display. Check that you’re using separate outputs for each screen, and remember that a USB-C to dual HDMI adapter or a docking station needs to be plugged in securely before Windows can see what’s attached.
Cramped desks can cause their own trouble. A cable bent sharply behind a monitor may not sit fully in its socket, so a 90-degree adapter can help seat the connector properly without straining the port. If you’re working in a tight space, read up on how a 90-degree adapter handles these awkward connections.
Finally, a simple restart is worth trying. It clears temporary glitches and lets Windows rescan for connected displays, though it won’t fix a damaged cable or port. If a connector looks bent or a device feels unusually hot, stop and replace the part rather than forcing it. Once both screens appear, return to Display Settings and choose Extend these displays.
How to Verify Your Dual-Monitor Setup Works and What to Do Next
Once both monitors are lit up, take a minute to confirm the setup actually works before you start your day. Open Display Settings (right-click the desktop and choose it) and look at the arrangement preview at the top. You should see two numbered screens. Click Identify and a number will flash on each monitor so you can match the preview to your desk. Make sure “Extend these displays” is selected, then drag any window off the edge of one screen. If it slides onto the other one, you’re extended and good to go.
If the window won’t cross over, the screens are probably set to duplicate, or the preview layout doesn’t match your physical arrangement. Fix the mode first, then drag the numbered boxes until they mirror how your monitors sit.
From there, a few small tweaks make the setup feel finished. Choose which screen is your main display so taskbar icons and new windows open where you expect. Practice snapping windows to each side of both monitors to get a feel for the workspace.
If the setup feels limited, with a laggy screen, a missing output, or a tangle of cords, revisit your hardware choices. Our guides on cable types and USB-C docks can help you decide whether a different cable or a single-connection dock would suit your desk better.
Dual-Monitor Setup FAQs
Most dual-monitor questions come down to the same few points: how many video outputs you have, what each monitor accepts, and how Windows treats the second screen. These are the ones readers ask most.
Can I connect two monitors to a laptop with only one video port?
Yes, if the port is USB-C or Thunderbolt 4 and carries video. You can run a USB-C docking station or a USB-C to dual HDMI adapter from that single port and plug both monitors into it.
Do both monitors need the same type of connection?
No. One monitor can use HDMI while the other uses DisplayPort or USB-C, as long as your computer or dock has a matching output for each and each monitor has a matching input. Using different cable types is common and works fine.
What does Extend these displays do compared with duplicate?
Extend gives each monitor its own independent workspace, so you can drag windows from one screen to the other. Duplicate shows the same image on both, which is handy for presentations but doesn’t add any screen space.
Why is my second monitor not detected?
Start by confirming every cable is seated firmly at the PC or dock, then check for Windows updates before changing external display settings. Also make sure each monitor is set to the correct input source.
A docking station is optional. If your laptop or graphics card already has two usable video outputs, direct cables are the simplest route. A dock mainly earns its place when you have few ports and want to connect everything through one cable.
If you’d rather skip cables to a screen altogether, a wireless display adapter on a TV works too. Press the Windows key + K to open Cast and select the adapter. For a desk setup you use every day, though, a wired connection is the more familiar starting point.
Setting up two monitors comes down to a short, repeatable path. Start by checking which ports your computer and displays actually have, whether HDMI, DisplayPort, USB-C, or Thunderbolt 4. Then pick the connection method that fits, either direct cables, a USB-C dock, or a USB-C to dual HDMI adapter. Plug everything in firmly, make sure both monitors are powered on and set to the right input, and then choose Extend these displays in Windows 11 so each screen works as its own workspace. If one display doesn’t appear, recheck the cable connections and look for Windows updates before changing anything else. Most problems turn out to be a loose connector or the wrong input. Take it one step at a time, and you’ll have a dependable dual-screen desk.