
Adding or replacing a wall network port takes about 20 to 30 minutes per jack and sits firmly in beginner-to-intermediate territory. You need a keystone jack (or a jack module that fits your wall plate), a punch-down tool, a cable stripper, and solid-core Cat6 or Cat6a cable that already runs back to your switch or patch panel. Strip the jacket, untwist only as much as the termination requires, punch each pair onto the color-coded contacts, snap the jack into the plate, and test the line before you close anything up.
The method works because a wall port is just a clean, protected termination point. Done right, it gives you a stable wired connection that outperforms Wi-Fi on latency and consistency, which matters for gaming, video calls, and large file transfers.
Done wrong, it causes the kind of intermittent faults that waste whole evenings: a link that negotiates at 100 Mbps instead of 1 Gbps, random drops, or a port that works only when the cable is nudged. Most of those problems trace back to three things, the wrong cable type, too much untwisting at the termination, or skipped testing.
Below you’ll find what to buy, the tools and safety checks that matter, the full process step by step, and how to confirm the port performs before you rely on it.
What You’re Actually Installing: Wall Ports, Sockets, and Cables Explained
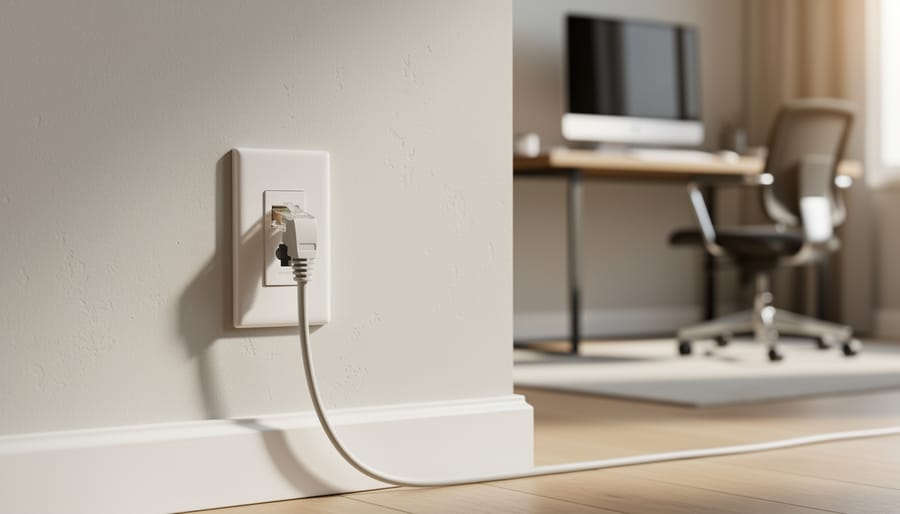
Choosing the Right Cable Category for the Wall
For an in-wall run, the cable category sets your speed ceiling, so it’s worth getting right the first time. Behind drywall, you won’t want to redo it.
Cat5e handles 1 Gbps up to 100 meters and is fine for most homes with gigabit internet. Cat6 also covers 1 Gbps at that distance, and it supports 10 Gbps up to about 55 meters, though real-world results depend on interference and installation quality. Cat6a is the sturdy option: 10 Gbps for the full 100 meters, with thicker construction that resists crosstalk better. It’s stiffer and harder to pull through tight cavities, which is a practical cost.
My honest take: Cat5e is enough if you only need gigabit and the run is short. If you’re pulling cable once and plan to stay for years, Cat6 is the sensible middle ground, and Cat6a makes sense for home offices, NAS setups, or anyone expecting multi-gig service. The cable is cheap compared with the labor of opening walls again.
Shielded (STP) cable only earns its place near heavy electrical interference or in long runs alongside power lines, and it needs properly grounded jacks to work. Unshielded (UTP) is the right call for typical homes.
Insist on solid-core pure copper. Copper-clad aluminum (CCA) is cheaper but brittle, higher in resistance, and a poor fit for in-wall runs. If you want a broader checklist, this guide on how to choose quality Ethernet cables covers what to look for on the label.
Check the jacket rating too. CM is general-purpose and fine for exposed walls, CMR is riser-rated and resists fire spreading between floors, and CMP is plenum-rated for air-handling spaces. Match your jack to your cable category as well, since a Cat6 cable on a Cat5e jack limits you to the lower standard.
Keystone Jacks vs. Pre-Built Wall Sockets
Wall network ports come in two common styles. A keystone jack is a small modular insert that snaps into a faceplate with openings for one or more jacks. An all-in-one wall socket combines the jack and faceplate into a single unit. Keystones give you flexibility: you can mix Ethernet with coax, HDMI, or blank inserts in the same plate, and you can replace one jack without swapping the whole assembly. Pre-built sockets are simpler and often cheaper for a single-port job, but you’re locked into whatever the manufacturer built.
Termination is the other choice. Punch-down jacks use a small blade tool to push each wire into a slot, which trims the excess as it seats. A basic punch-down tool is inexpensive, and the method produces reliable, compact connections. Tool-less jacks use a snap-down cap or lever to clamp the wires, which suits a one-off install where you don’t want to buy another tool. They can be a little bulkier, and some builders find the clamping less forgiving if you misjudge a wire.
For plates, a single-port plate is enough for one device. Dual-port plates are a sensible default because adding a second jack now costs far less than reopening the wall later. Multi-port plates suit home offices or media centers where several devices share one location.
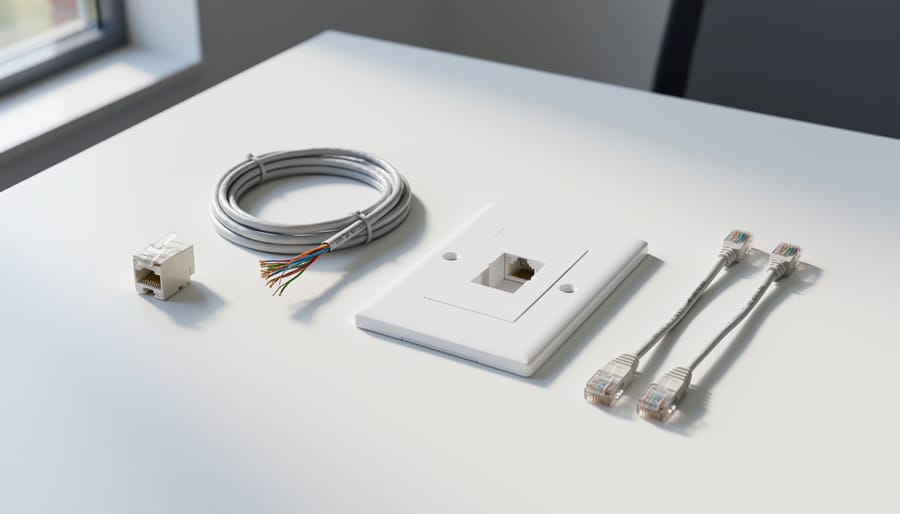
Tools and Materials You’ll Need Before You Start
Gather everything before you open a wall, because a mid-job trip to the hardware store is the most common way a one-hour task turns into an afternoon.
Here’s the full checklist:
- Solid-core Ethernet cable, rated for in-wall use
- Keystone jack or jacks, matching your cable category
- Wall plate with the right number of openings
- Low-voltage mounting bracket (old-work style)
- Punch-down tool
- Cable stripper or jacket cutter
- Wire cutters or flush snips
- Stud finder
- Drywall saw or jab saw
- Fish tape or pull string
- Cable tester
- Labels or a marker
- Short patch cables for each end
The essentials are the cable, jack, plate, bracket, punch-down tool, stripper, drywall saw, and tester. The stud finder, fish tape, and labels are nice-to-haves, though a stud finder earns its price the first time it spares you a nail or a pipe.
Spend a little more on the punch-down tool and the tester. A cheap punch-down tool can leave conductors half-seated, and a basic continuity tester that only blinks lights won’t catch split pairs. Budget options are fine for the saw, snips, and labels. If you’re unsure how to choose a stripping tool look for one that scores the jacket without nicking the copper inside.
Finally, buy more cable than you measure. Add at least ten to fifteen feet for bends, service slack at both ends, and the inevitable re-termination.
Safety Warnings and When to Stop and Call a Pro
Cutting into a wall is where most of the real risk in this project lives. The network cable itself carries almost no current, but what’s hiding in the cavity can hurt you or cause expensive damage.
Start with the obvious hazards: live electrical wiring, plumbing, and fire-blocking. Before you cut anything, scan the area with a stud finder that detects AC wiring, and keep your opening well away from outlets, switches, and any spot where a pipe might run. Choose a location that isn’t directly above or below an outlet, since cables often travel vertically between them.
Keep your low-voltage Ethernet cable separated from mains power wiring. Don’t staple it to electrical cable, and avoid running it parallel to power lines over long distances. Where the two have to cross, cross them at a right angle. Beyond the safety issue, close contact can introduce interference that hurts performance.
Wear safety glasses whenever you cut drywall or drill, since dust and debris fall straight toward your face. If your route goes through an attic or crawlspace, use a stable ladder on level ground, step only on joists or solid framing, and bring a good light. Attics can get dangerously hot, so work in cooler hours and take breaks.
Know when to stop and call a licensed electrician or low-voltage installer:
– You find old cloth-insulated, knob-and-tube, or aluminum wiring in the cavity.
– The wall or insulation might contain asbestos-era materials, which is a real possibility in older homes.
– A fire block or fire-stopped cavity blocks your route. Don’t drill through it unless you can properly reseal it to code.
– You can’t tell what’s behind the spot you want to cut.
Finally, check your local building code and, if you rent, your lease. Some jurisdictions require permits for in-wall cabling, and many rental agreements prohibit wall modifications without written permission.
Step-by-Step: Running Cable and Installing the Wall Network Port
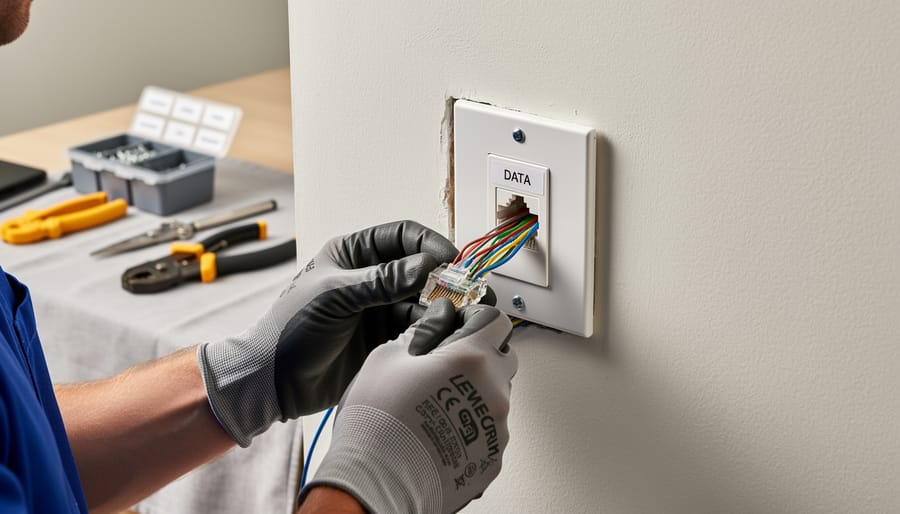
Planning the Route and Cutting the Opening
Start with the device, not the wall. Pick a spot within a few feet of where the console, desktop, or TV will sit, so the patch cable stays short and out of the way. Stay at least a foot from mains outlets and switches where you can, since network cable runs best when it isn’t paralleling power wiring.
Next, measure the run. Trace the path the cable will take, whether up into an attic or down to a basement, and add slack at both ends. Cut or buy more than the tape reads, because routes bend more than you expect.
Before you cut anything, scan the wall. A stud finder with AC detection helps locate framing and live wires, and tapping on the wall can confirm what the detector shows. Choose a spot between studs, since an old-work bracket clips to the drywall itself rather than the frame.
Trace the bracket outline on the wall at your chosen height, usually matching existing outlets. Cut slowly with a drywall saw, using shallow strokes so you don’t nick a hidden cable or pipe. A small inspection first, such as a gentle probe or a flashlight peek through the hole, is smart. Hold a vacuum nozzle beside the saw to catch dust, and keep the cut edges clean so the bracket seats flush.
Fishing the Cable Through the Wall
Fishing cable is mostly patience and a good pull string. If you can get above or below the wall, start there. In an attic or basement, drill a hole through the top or bottom plate of the wall cavity directly above or below your opening, then drop a weighted string down (or push fish tape up) until you can grab it through the cut-out.
Tape the cable to the string or tape head with a smooth, tapered wrap so the connector end doesn’t snag on insulation or framing. Pull with steady pressure rather than yanking. If it binds, stop, ease it back a few inches, and try again. Forcing it can stretch the pairs inside the jacket and hurt performance.
Fire blocks, the horizontal boards between studs, are the usual snag. If you can’t pass the string through, you may need a second access hole above the block, or a flexible drill bit to bore through it. If you suspect the cavity is code-required fire-stopping, treat that as a stop condition and review the safety section before cutting further.
Leave 8 to 12 inches of slack at the wall opening and a few extra feet at the far end. Keep bends gentle, roughly four times the cable’s diameter or wider, and never pin the cable against sharp edges or crush it with staples.
Terminating the Keystone Jack (T568B Wiring)
Termination is where most first-time installs succeed or fail, so slow down here. Start by pulling about two inches of outer jacket off the cable, taking care not to nick the copper pairs underneath. A cable stripper with an adjustable blade makes this easy, but a careful pass with a utility knife works too. Then trim off the pull string or any exposed ripcord.
Next, untwist only as much as the jack requires. The pairs are twisted for a reason: that twist cancels interference, and too much untwisting at the connector is a classic cause of dropped speeds. Keep the untwisted section to roughly half an inch, then lay each conductor into its slot.
Every keystone jack has a color code printed on or beside the slots, usually showing both T568A and T568B. Follow the T568B row. If you want a fuller walkthrough of the process, our guide on how to wire a network wall jack covers it in more depth.
With the wires seated, use a punch-down tool to press each one into its slot. The tool seats the conductor and trims the excess in one motion, so make sure the cutting edge faces outward. You should feel a firm click each time.
Why T568B? Both standards work electrically, but T568B is the more common choice in North American homes and most pre-made patch cables. What matters most is consistency. Use the same standard at both ends of every run, and across every port in your home, so the pairs line up properly end to end.
Verifying the Connection and Next Steps
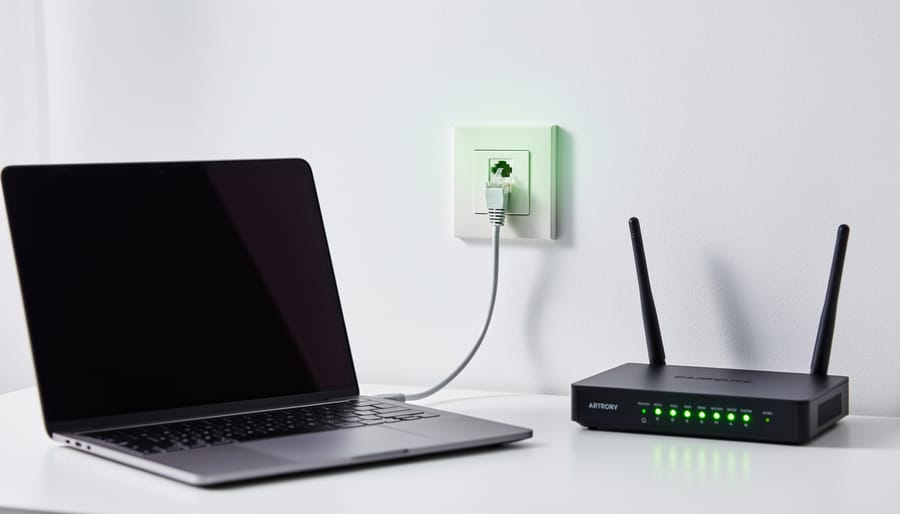
Troubleshooting a Wall Port That Won’t Connect
When a new wall port shows no link light, start at the termination. Pop the plate off and look for a pair that was split or crossed, a conductor that never seated in its slot, or a jacket that was stripped too far back. Re-punch any suspect wire and compare the color order against the label on the jack. If the tester shows a clean run but the port still fails, swap the patch cable at each end, since cheap ones fail more often than the in-wall run. A kinked or stretched cable from a hard pull can also pass continuity yet fail under load, so retest after tugging gently near the opening. Finally, confirm the switch port is active and matches your speed expectations, and if you are unsure what your gear supports, it helps to choose the right Cat cable before replacing anything.
Can I use Cat6 jacks with Cat5e cable?
Yes, it will work, but the link only performs to the lower category. Matching jack and cable keeps the run consistent and avoids paying for speed you can’t use.
Why is my wall port slower than my router’s speed?
A damaged conductor can force the link down to 100 Mbps, so check the pairs and patch cables. The device’s network adapter or the switch port may also be limiting speed.
Can I install a port in a rental?
Check your lease first, since many landlords restrict cutting into walls. Ask for written permission before making any changes.
A good wall network port comes down to three things: the right cable, careful termination, and thorough testing. Pick solid-core copper cable with an in-wall rating, match the jack category to the cable, and keep the T568B color order identical at both ends. Take your time at the punch-down, because a rushed termination is the most common reason a new port fails or runs slower than it should. Then verify the work with a cable tester, a short patch cable, and a real speed test before you close anything up.
If this is your first run, start with a single port. One clean install teaches you how the cavity behaves, how the cable pulls, and how the punch-down feels, and you’ll carry that confidence into every port after it. From there, labeling each run, tidying the router end, and adding more locations all get easier. For more on patch cables, cable categories, and wiring, browse the related guides across the site.