
When it comes to electrical connections, the person conducting the wiring must be experienced; otherwise must follow proper instructions. A tiny mistake can cause the whole electrical system to shut down or completely damage. The same applies to connecting or repairing solar connections. If the contact between the wires becomes loose or touched wrongly, the system can damage instantly, and that’s where crimping comes in.
I recently built a DIY solar generator, and I learned that the best way to crimp is to press the wires inserted into a male or female pin tightly to create a firm grip and contact. Unlike soldering, it’s faster, cheaper, easier, and safer.
Whether you’re fixing your water pump or extending the MC4 connector of your solar panels, follow these steps carefully to crimp your solar connector successfully.
Steps to Crimp Your Solar Connectors
Crimping a connector is easy, even if it’s an MC4 connector or a PV connector. However, the nature of the wires and connectors can determine the type of crimping tool you’ll need for a perfect job.
If you’re working on an MC4 connector, your best bet is a hand-held manual or hydraulic crimping tool.
Meanwhile, before you begin, you’ll need wire cutters, wire strippers, a connector (the PV or MC4 connector), female and male pins, as well as a male and female connector.
With these in place, let’s start crimping your solar connector.
Get Your Materials Together
Bring the wires, connector kit, pliers, and crimping tool to your workspace so you don’t miss out on anything.
Also, get your female and male pins in place. You can get as many as possible so that if one is damaged due to improper crimping, you can use another.
For your connector, ensure that the wire sizes are compatible with the connectors. Some MC4 connectors work well with 10-to-14-gauge wire. Once you have these, start the process.
They Keep the Pool Warmcut the Wires to Your Preferred Length and Strip From the End
Use the wire cutter to cut out the length of wire you need. This will depend on what you’re working on, for instance, connecting solar panels from the solar array to the charge controller.
After cutting out your preferred length, strip the wire. Use the wire stripper to strip at least 1.3 cm (1/2″) from the end of the wire. You can repeat the process for all the wires you need.
The stripped part of the wire should match the barrel length of the female and male pin so that no naked part of the wire is outside the pin. This is an ideal safety mechanism to keep in mind.
Insert and Crimp the Pins to the Stripped Wires
At this point, ensure the male pin links with the female connector while the female pin goes to the male MC4 connector.
Next, insert the wire you stripped into the pins as instructed. Position the metal fins of the pins in your crimper’s jaw, ensuring that the stripped wire strands are all inside the pin.
Remember that the crimpers have several holes graduated in mm2 for different wire sizes. Make sure you use the appropriate hole for the right wire size.
To crimp your connections, squeeze the crimper until it automatically releases. If the grip is not yet established between the pin and wire, crimp again in a different place and squeeze the crimper tighter.
Insert the Male Pin to Female Connect and Female Pin to Male
Unscrew the caps of both connectors along with their compression sleeve and slide them over the crimped pins.
Insert the pins appropriately into the connector until they click. Double-check if the male pin is in the female connector and vice versa.
Since the connector comes with a non-return clip in it, you won’t be able to pull out the pins once inserted.
Next, screw the caps and compression sleeves on both connectors until they are very tight and firmly lapped on the connector. This will keep water away from entering it.
If you’re crimping your connector for multiple panels on your solar array, repeat these steps for all your MC4 solar connectors.
Although these steps were carried out with an MC4 connector, you can still use them on other types of crimpers.
However, be careful when positioning your connections on the jaw of the crimper so that they align correctly.
Meanwhile, if you’d like to check a few crimpers for your electrical activities, these are some options to consider.
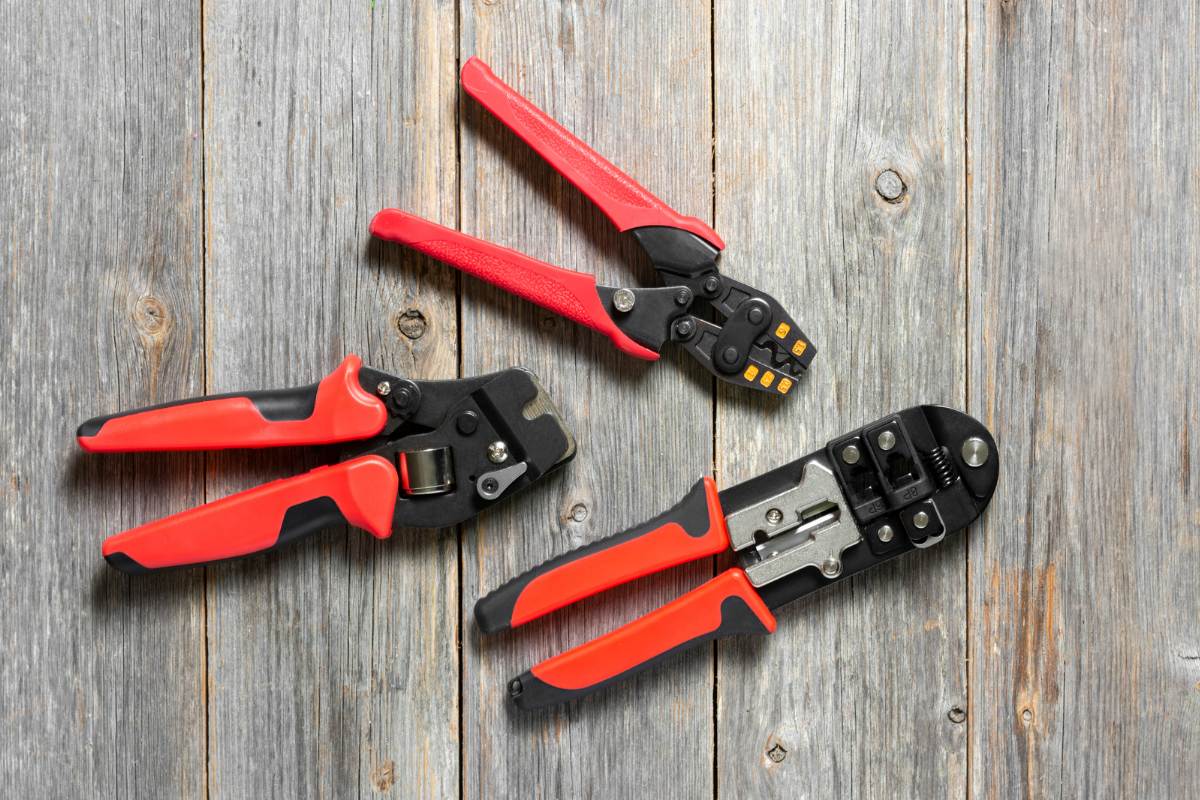
Types of Crimping Tools
There are about six different types of crimping tools, and they all come with different modes of operation.
Choosing any of these types will depend on the repetitive speed of the crimp tool and the mechanical force you need for the job.
Check the six types of crimpers and how they work below
Hand-held Hydraulic
The hand-held hydraulic crimping tools are manually operated. However, the hydraulic principle decreases the need for force, making you exert less energy during the crimping process.
Hand-held Manual
The hand-held manual crimpers are operated manually, meaning the person using the tool will move the handles and press them tighter to ensure the crimping is successful.
As such, more force is exerted on the tool. Nevertheless, they’re cheaper, portable, and have interchangeable die sets.
Hand-held Electric
These types of crimping tools come with a battery that powers them to work, thus providing a faster and more consistent crimping process. Their batteries are also rechargeable.
Bench-top Electric
These types are fixed to a bench, providing users with an easier crimping experience. Also, they give a greater crimp rate, consistency, and good quality.
Users don’t work hard when using bench-top electric crimping tools.
Bench-top Manual
These are mostly used for heavy duties. The bench-top manual crimping tool comes with a handle to decrease the level of need.
Although it’ll offer a lower crimping rate, its consistency is ideal.
Mountable Hydraulic
Unlike the hand-held hydraulic, mountable hydraulic crimping tools are used for very heavy-duty crimping, yet, the hydraulic principle decreases the need for the user’s force.
Things to Consider When Choosing a Crimping Tool
When choosing a crimping tool, there are some vital factors to consider ranging from the connector, like the MC4 connector and PV, to wire size.
Keeping these in mind will help you choose the most appropriate for your job.
Here are things to consider:
- Volume: The volume of work determines the type of crimper you need. For heavy-duty tasks, you’ll need a mountable hydraulic or bench-top electric. For simple jobs, you can use a hand-held or bench-top manual crimper.
- Pin pattern: Connectors come with different pin patterns, including insulated, non-insulated, copper tube, and open barrel. You should choose a crimper based on the pin you’ll work with.
- Specifications: Every piece of equipment comes with specifications. Check the specifications of the crimper you want to use to know what it can or cannot do. You’ll learn if it can work on your wire size and terminal material.
There are many other factors to consider, but these are vital for making the right choice.
FAQ’s
What Tools Are Required to Crimp an Mc4 Connector?
The tools you need to crimp MC4 connectors include a crimping tool, wire stripper, cutter, and connector tool.
Additionally, you’ll need materials like wire and MC4 solar connector kit, which comes with male and female pins as well as male and female connectors.
Are MC4 Connectors UV Resistant?
MC4 Connectors comprise a strong plastic cover to resist UV and even higher temperatures.
However, the cables you must connect to them are double-insulated cables with black sheaths. This makes the cables UV-resistant and durable even without protection from higher temperatures.
Are MC4 Solar Connectors Water Resistant?
MC4 solar connections make up a solar array. Since the solar system is designed to stay outdoors and under different weather conditions, all of its components are waterproof to keep water out of the system.
The process of crimping MC4 solar connections or other kinds of connectors is easy. You’ll spend a few minutes finishing the crimping process with the right tools and materials. Notwithstanding, you must be careful while mating the pins to the connectors, putting male pins in the female connector and female pins in the male connector.